

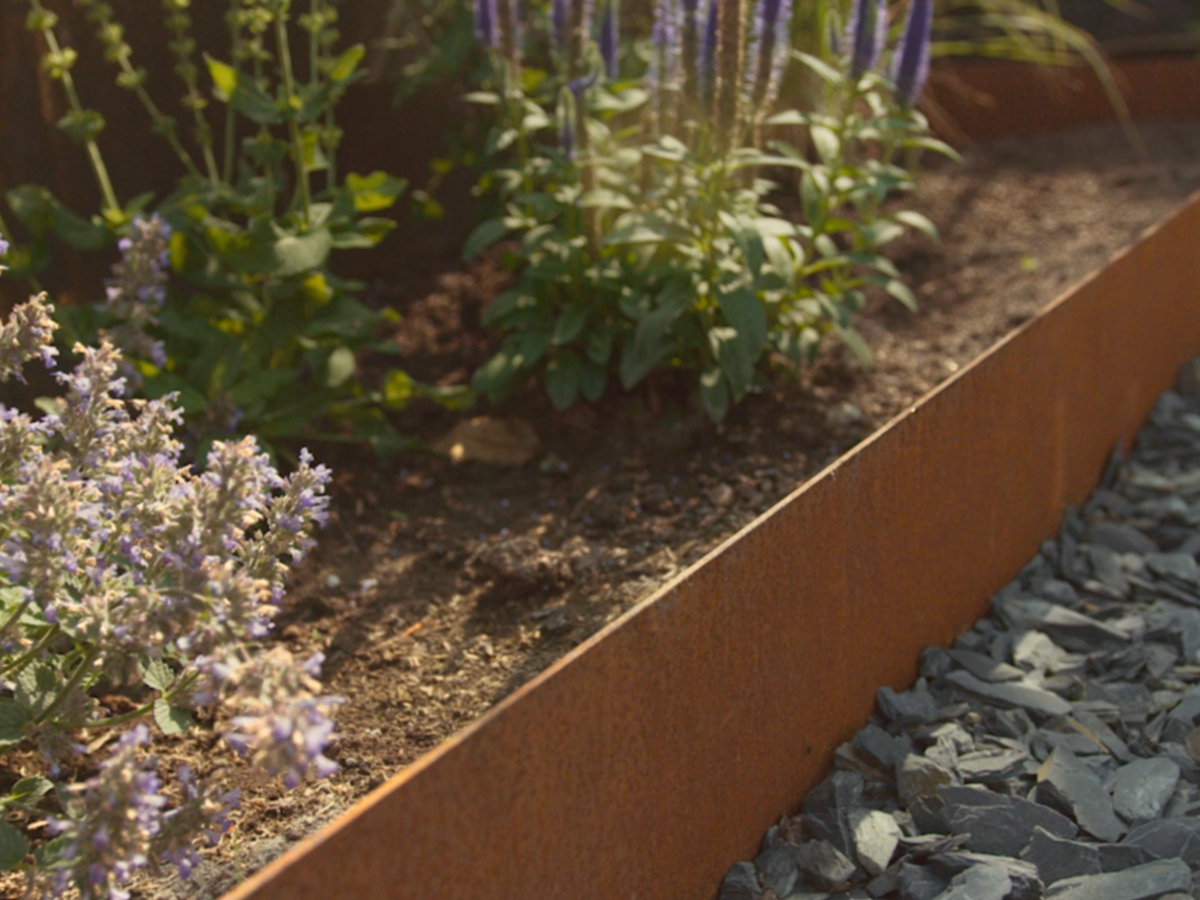
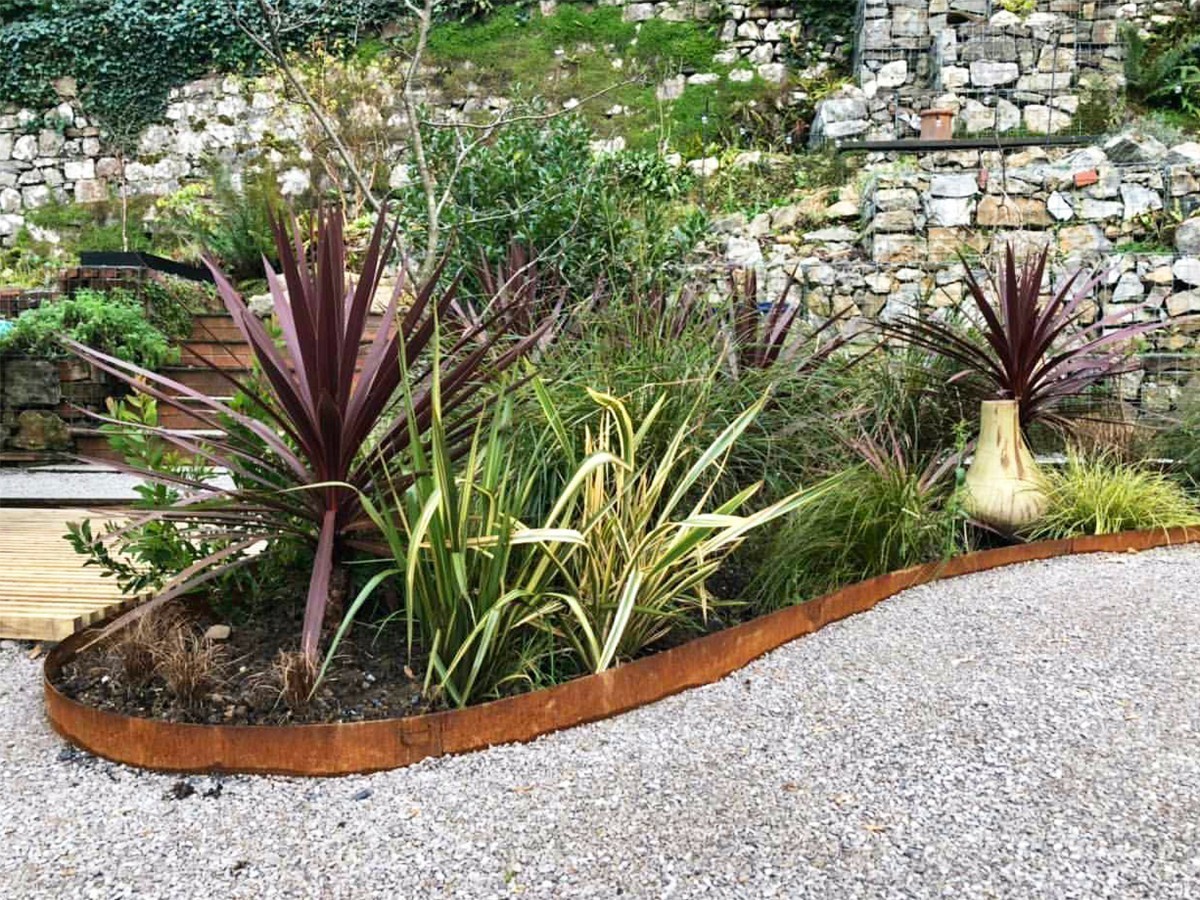
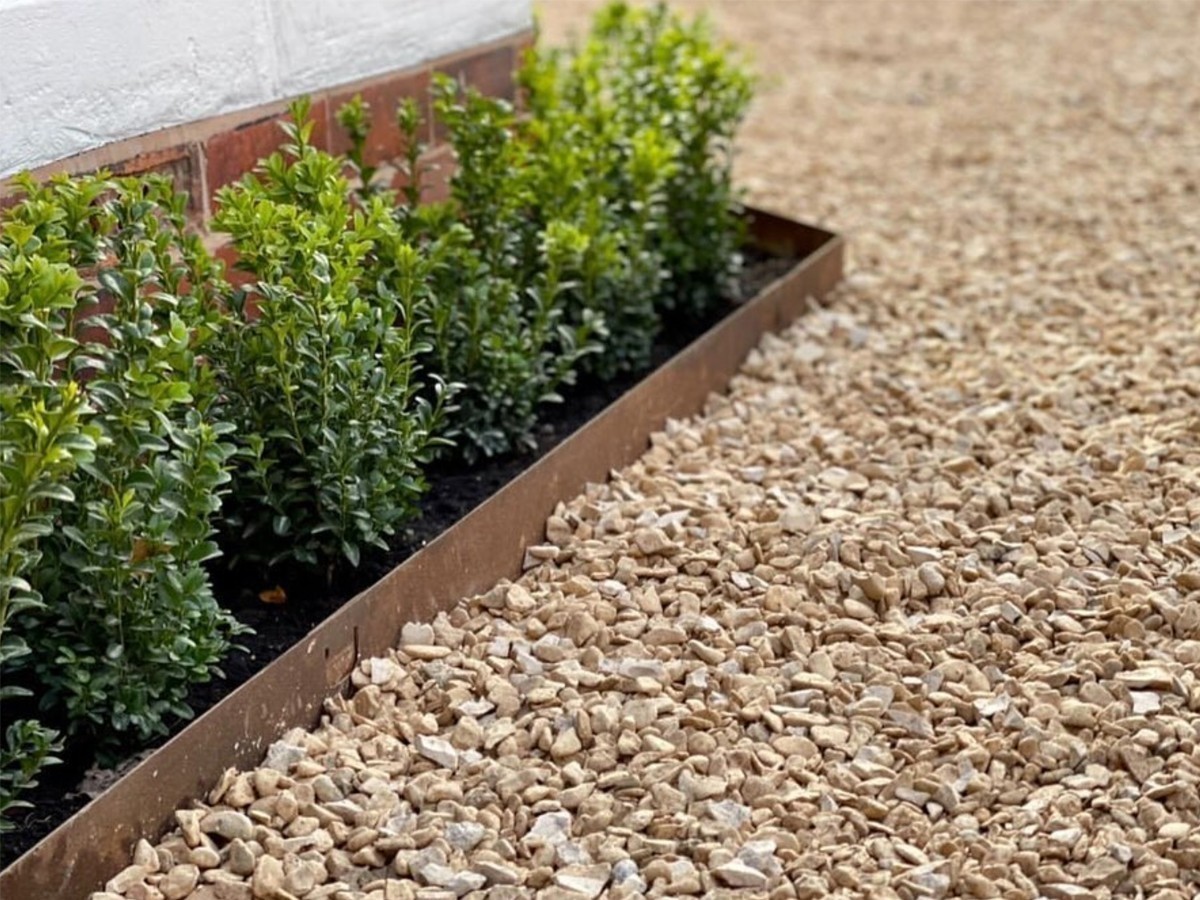
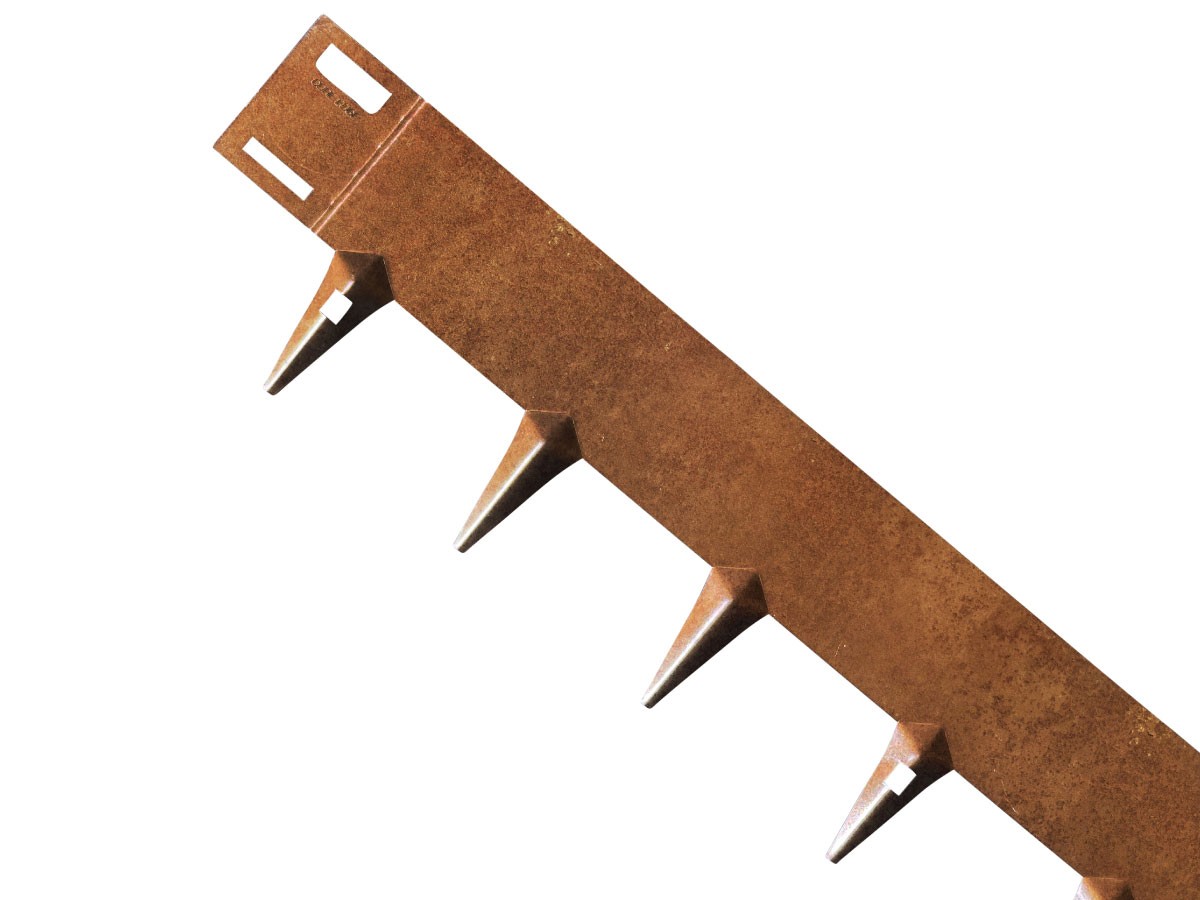
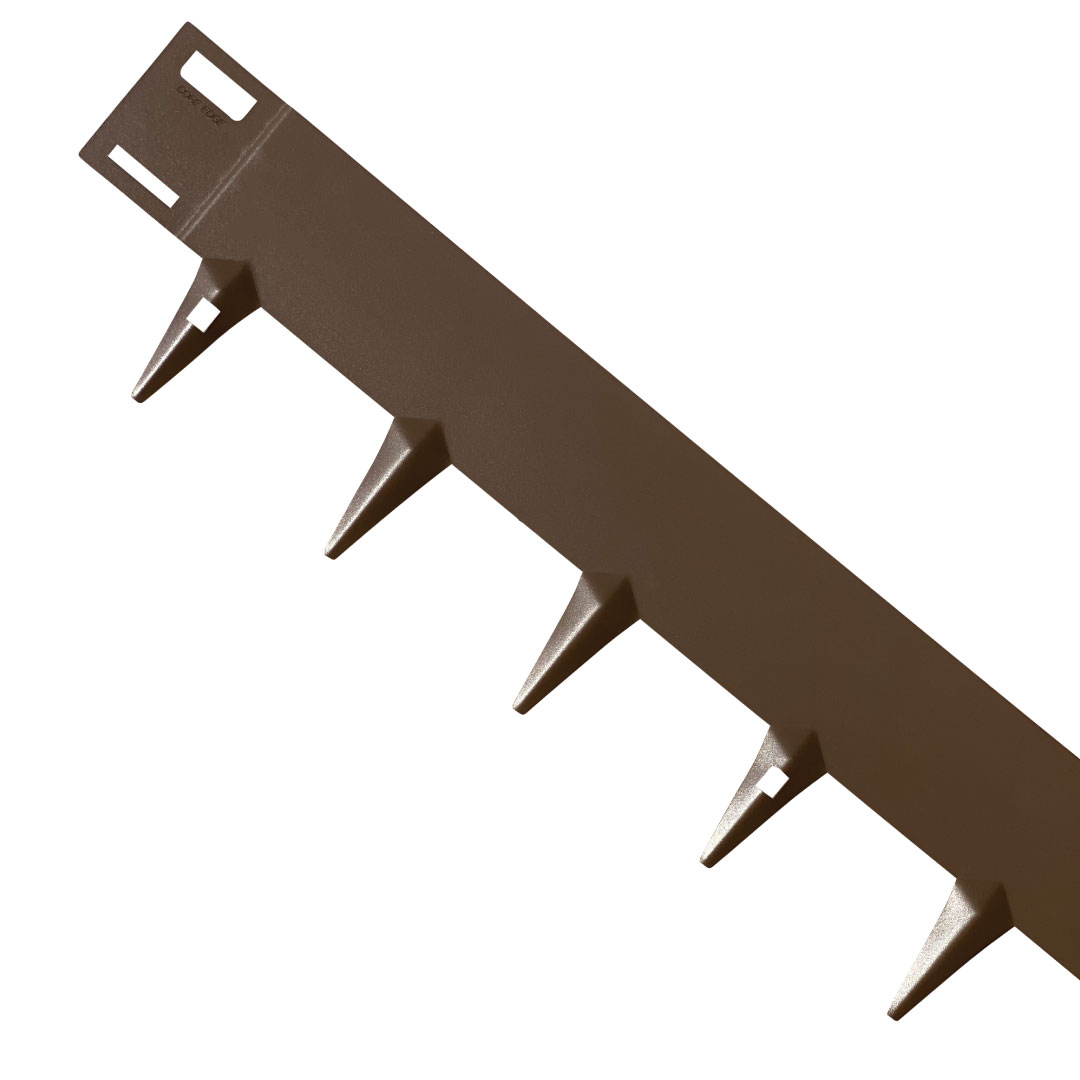
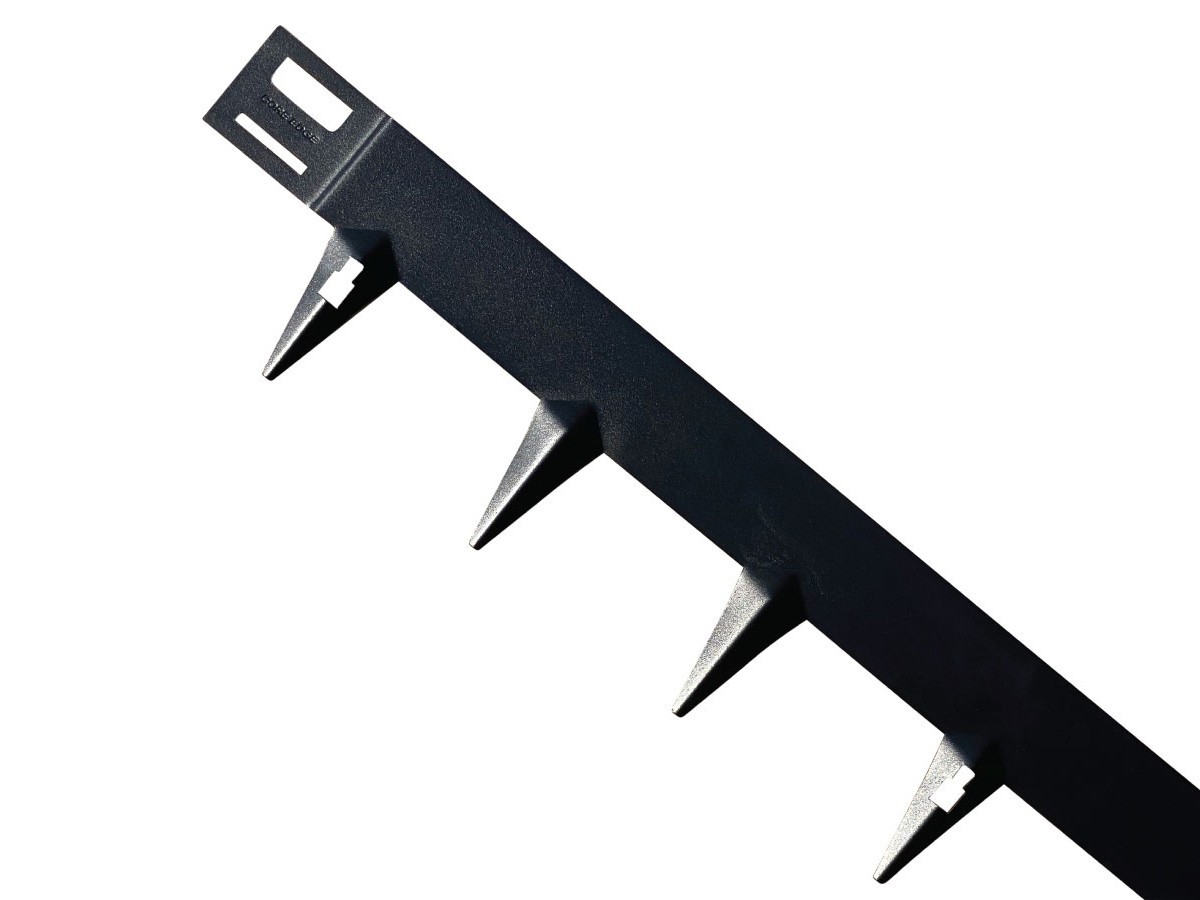
The CORE Edge powered by ECCO edging is a durable and flexible steel edging, ideal for finishing lawns, pathways, terraces, flower beds, borders and vegetable gardens. With an effective length of 1 meter and available in heights of 65, 100 and 150 mm, it offers a suitable solution for every project.
CORE Edge is available in five finishes: corten steel, galvanised steel, brown (RAL 8028), anthracite (RAL 7016) and black (RAL 9005). Thanks to its robust finish and high-quality coatings, the edging is resistant to weather conditions and has a lifespan of more than 20 years.
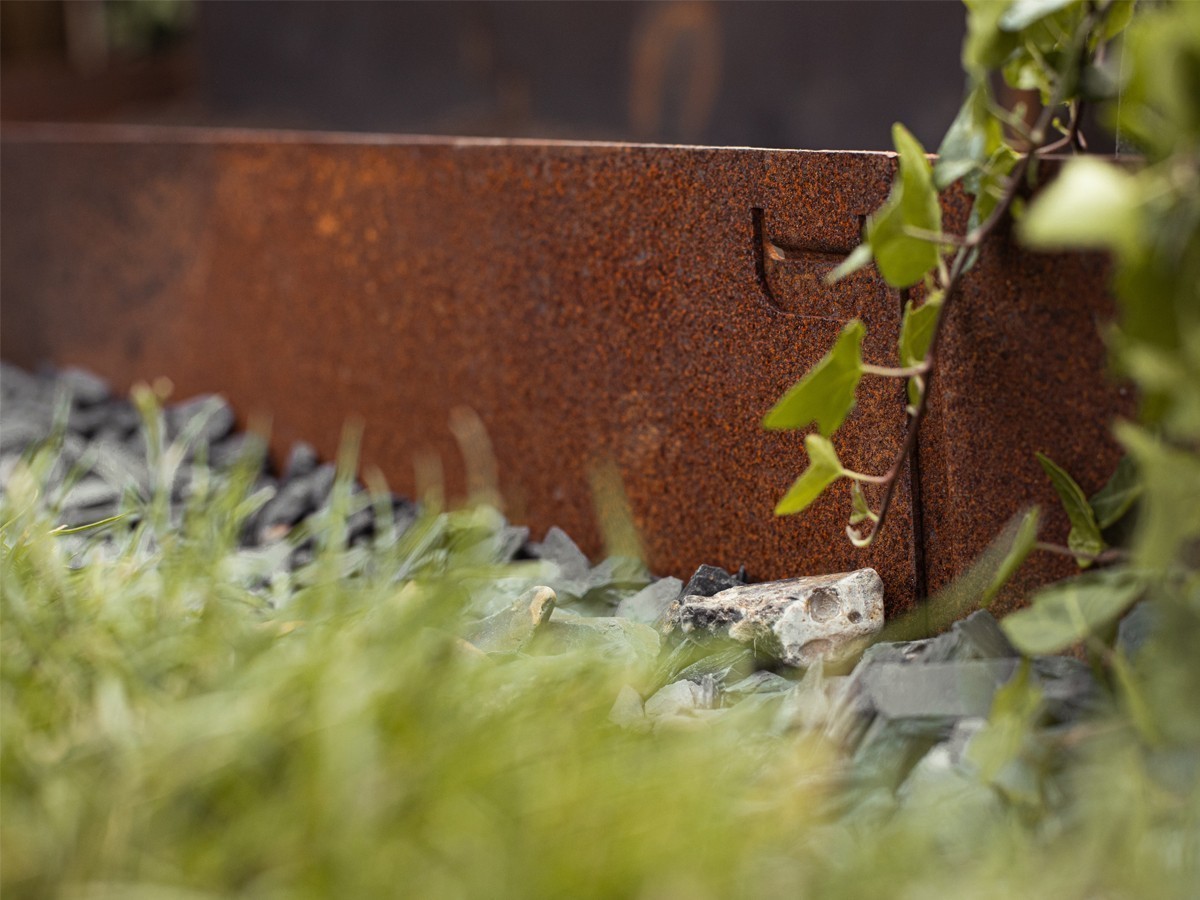
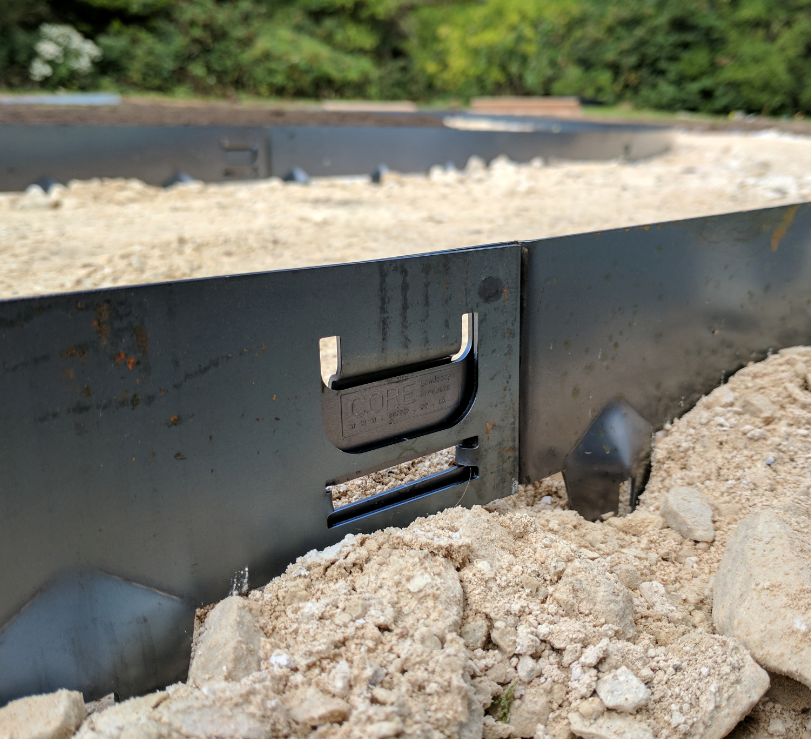
The anchoring pins with a unique central fold, combined with the Dual Lock Mechanism®, ensure secure installation and a strong connection between the sections.