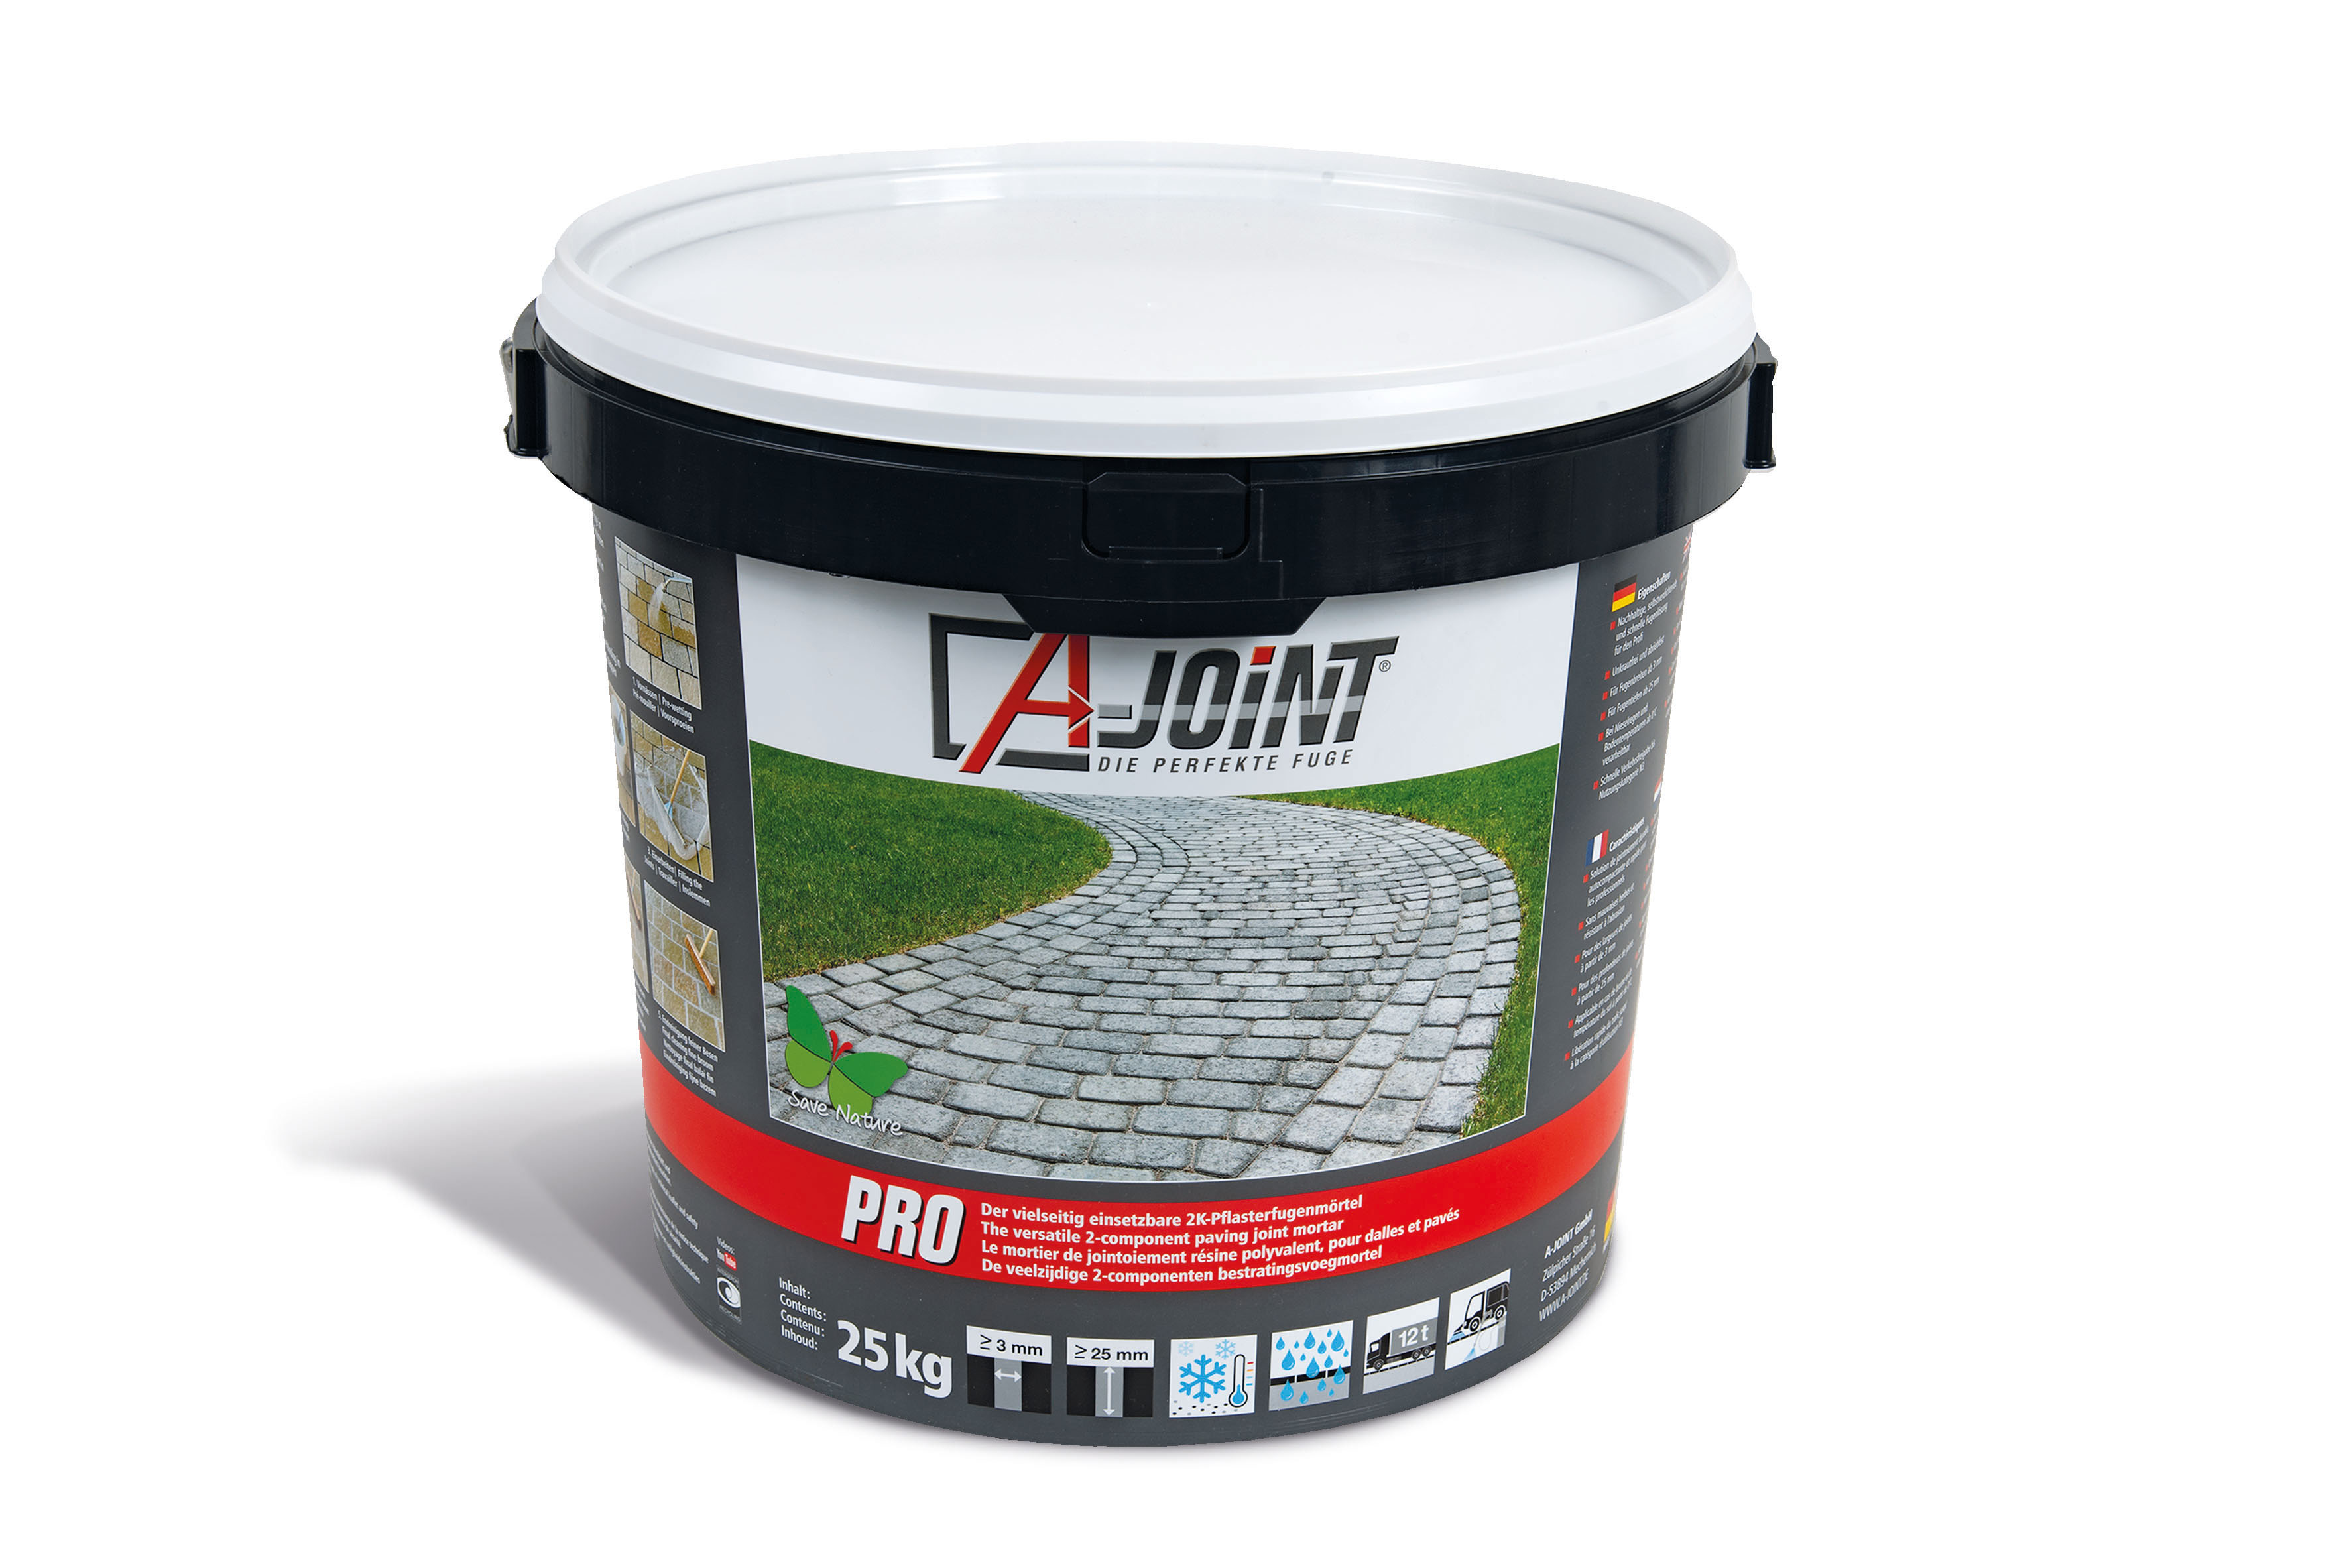
A-Joint® Pro prevents weed growth in the joints and is designed to withstand traffic loads of up to 12 tonnes.
This water-permeable jointing mortar can be used for almost all natural stone and concrete surfaces in both new constructions and renovation projects.
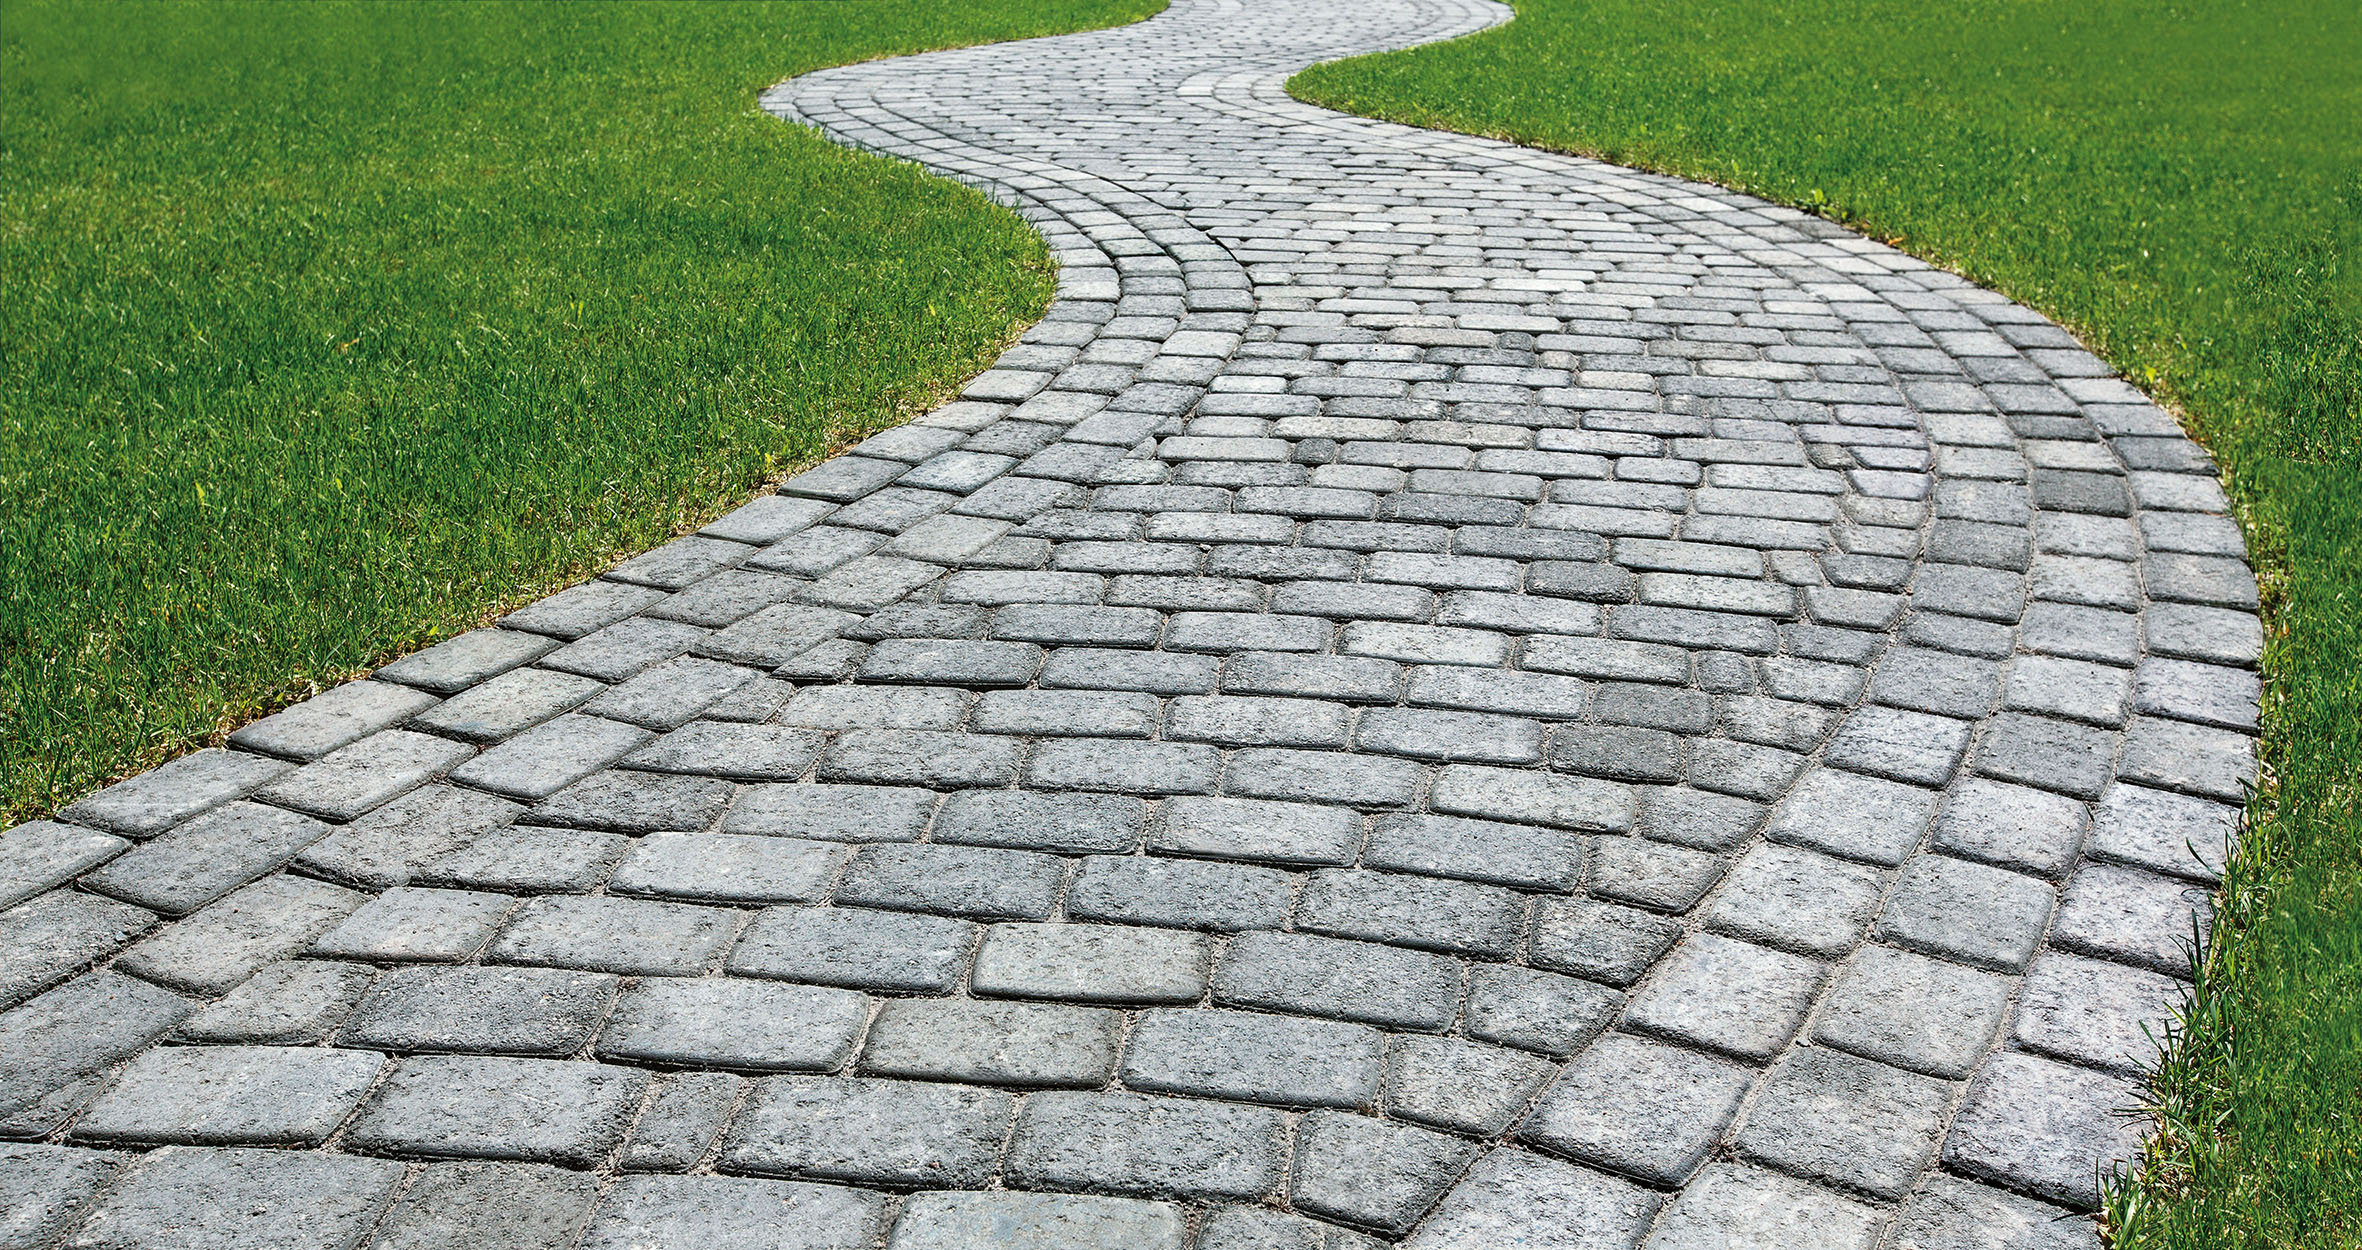
The joint mortar reduces maintenance work and accident risks. Moreover, it enhances the appearance of urban parks, pedestrian zones and public squares as well as private terraces, walkways and traffic routes, and the edges of pools and ponds.
Suitable for almost all natural stone and concrete pavings.
Suitable for paving with heavy loads:
- Roads
- Public squares
- Footpaths
- Swimming pool and pond areas
Step 1: Preparation
The joints must be cleaned of weeds, roots and loose parts without leaving any residue and cleared to a depth of at least 25 mm (2/3 of the stone height for traffic load). The surface to be grouted must be freed from all dirt. Adjacent areas that are not to be grouted should be taped off or covered. To avoid settling and loose stones, we recommend a permanently water-permeable and load-bearing substrate corresponding to the subsequent load. Pay attention to the current standards and guidelines. We generally recommend the bonded construction method.
Step 2: Pre-wetting
Pre-wet the entire surface extensively. Higher soil temperatures and absorbent, open-pored stone require more intensive pre-wetting. Generally, use clean and cold water.
Step 3: Mixing
Open the bucket. Pour the bottle inside completely to the sand component.
Fill the emptied bottle to ¼ = 0.25 litres of water and close it, shake vigorously and add to the mixture. Make sure the bottle is completely empty. Use a professional stirring or mixing device. Start mixing process and mix thoroughly for at least 6 minutes until a creamy, flowing mass is obtained. No further addition of water is necessary.
Step 4: Filling the joints
Pour the finished mixture onto the well pre-wetted surface. Work in the jointing compound carefully and as diagonally as possible to the joint using a rubber squeegee. To make the most of the flowability, it is recommended to divide this mixture into two to three portions. Mix the remaining joint compound again briefly. Keep the surface constantly wet during this work.
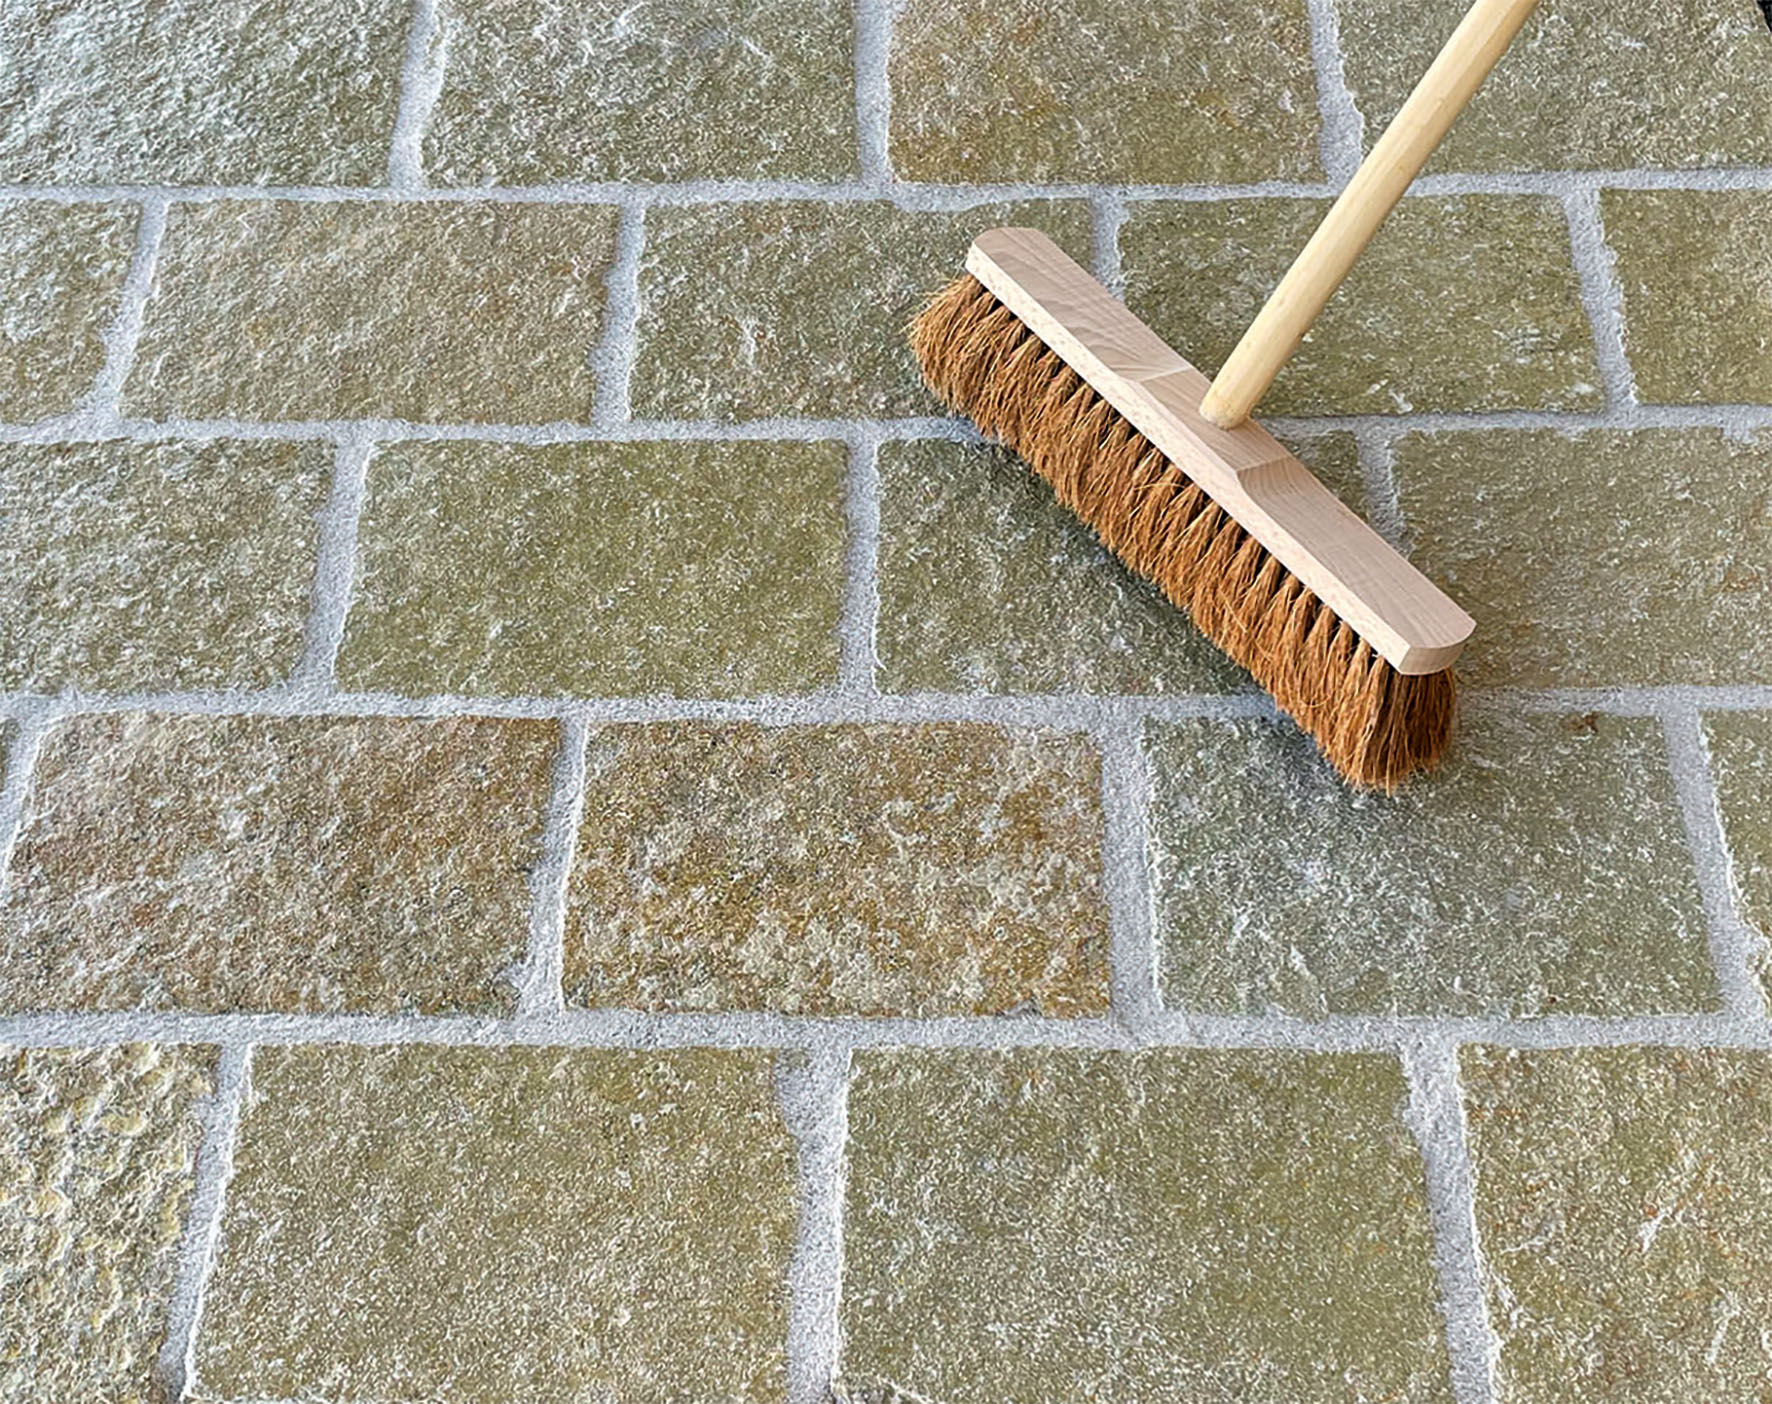
Step 5: Cleaning the surface
After approx. 10-20 minutes, sweep the stone surface carefully and diagonally to the joint with a medium-coarse street broom. If white gel-like streaks form on the stone surface, the correct sweeping time has not yet been reached. Then remove the remaining mortar residues with a fine coconut broom. Material that has been swept off should no longer be used. Make sure that chamfers (bevelling of the side edges) on slabs and pavers must be exposed.
Step 6: Aftercare
Protect the freshly grouted surface from rain for 12-24 hours. We recommend using construction foil or tarpaulins as rain protection. To allow sufficient air to circulate, the rain protection must not be placed directly on the surface. At temperatures around 20°C, the surface can be walked on after 24 hours and driven on after 3 days. A strength test is recommended before use. Cleaning work (high-pressure cleaner max. 120 bar, min. 20 cm distance) may be carried out after 7 days at the earliest.

