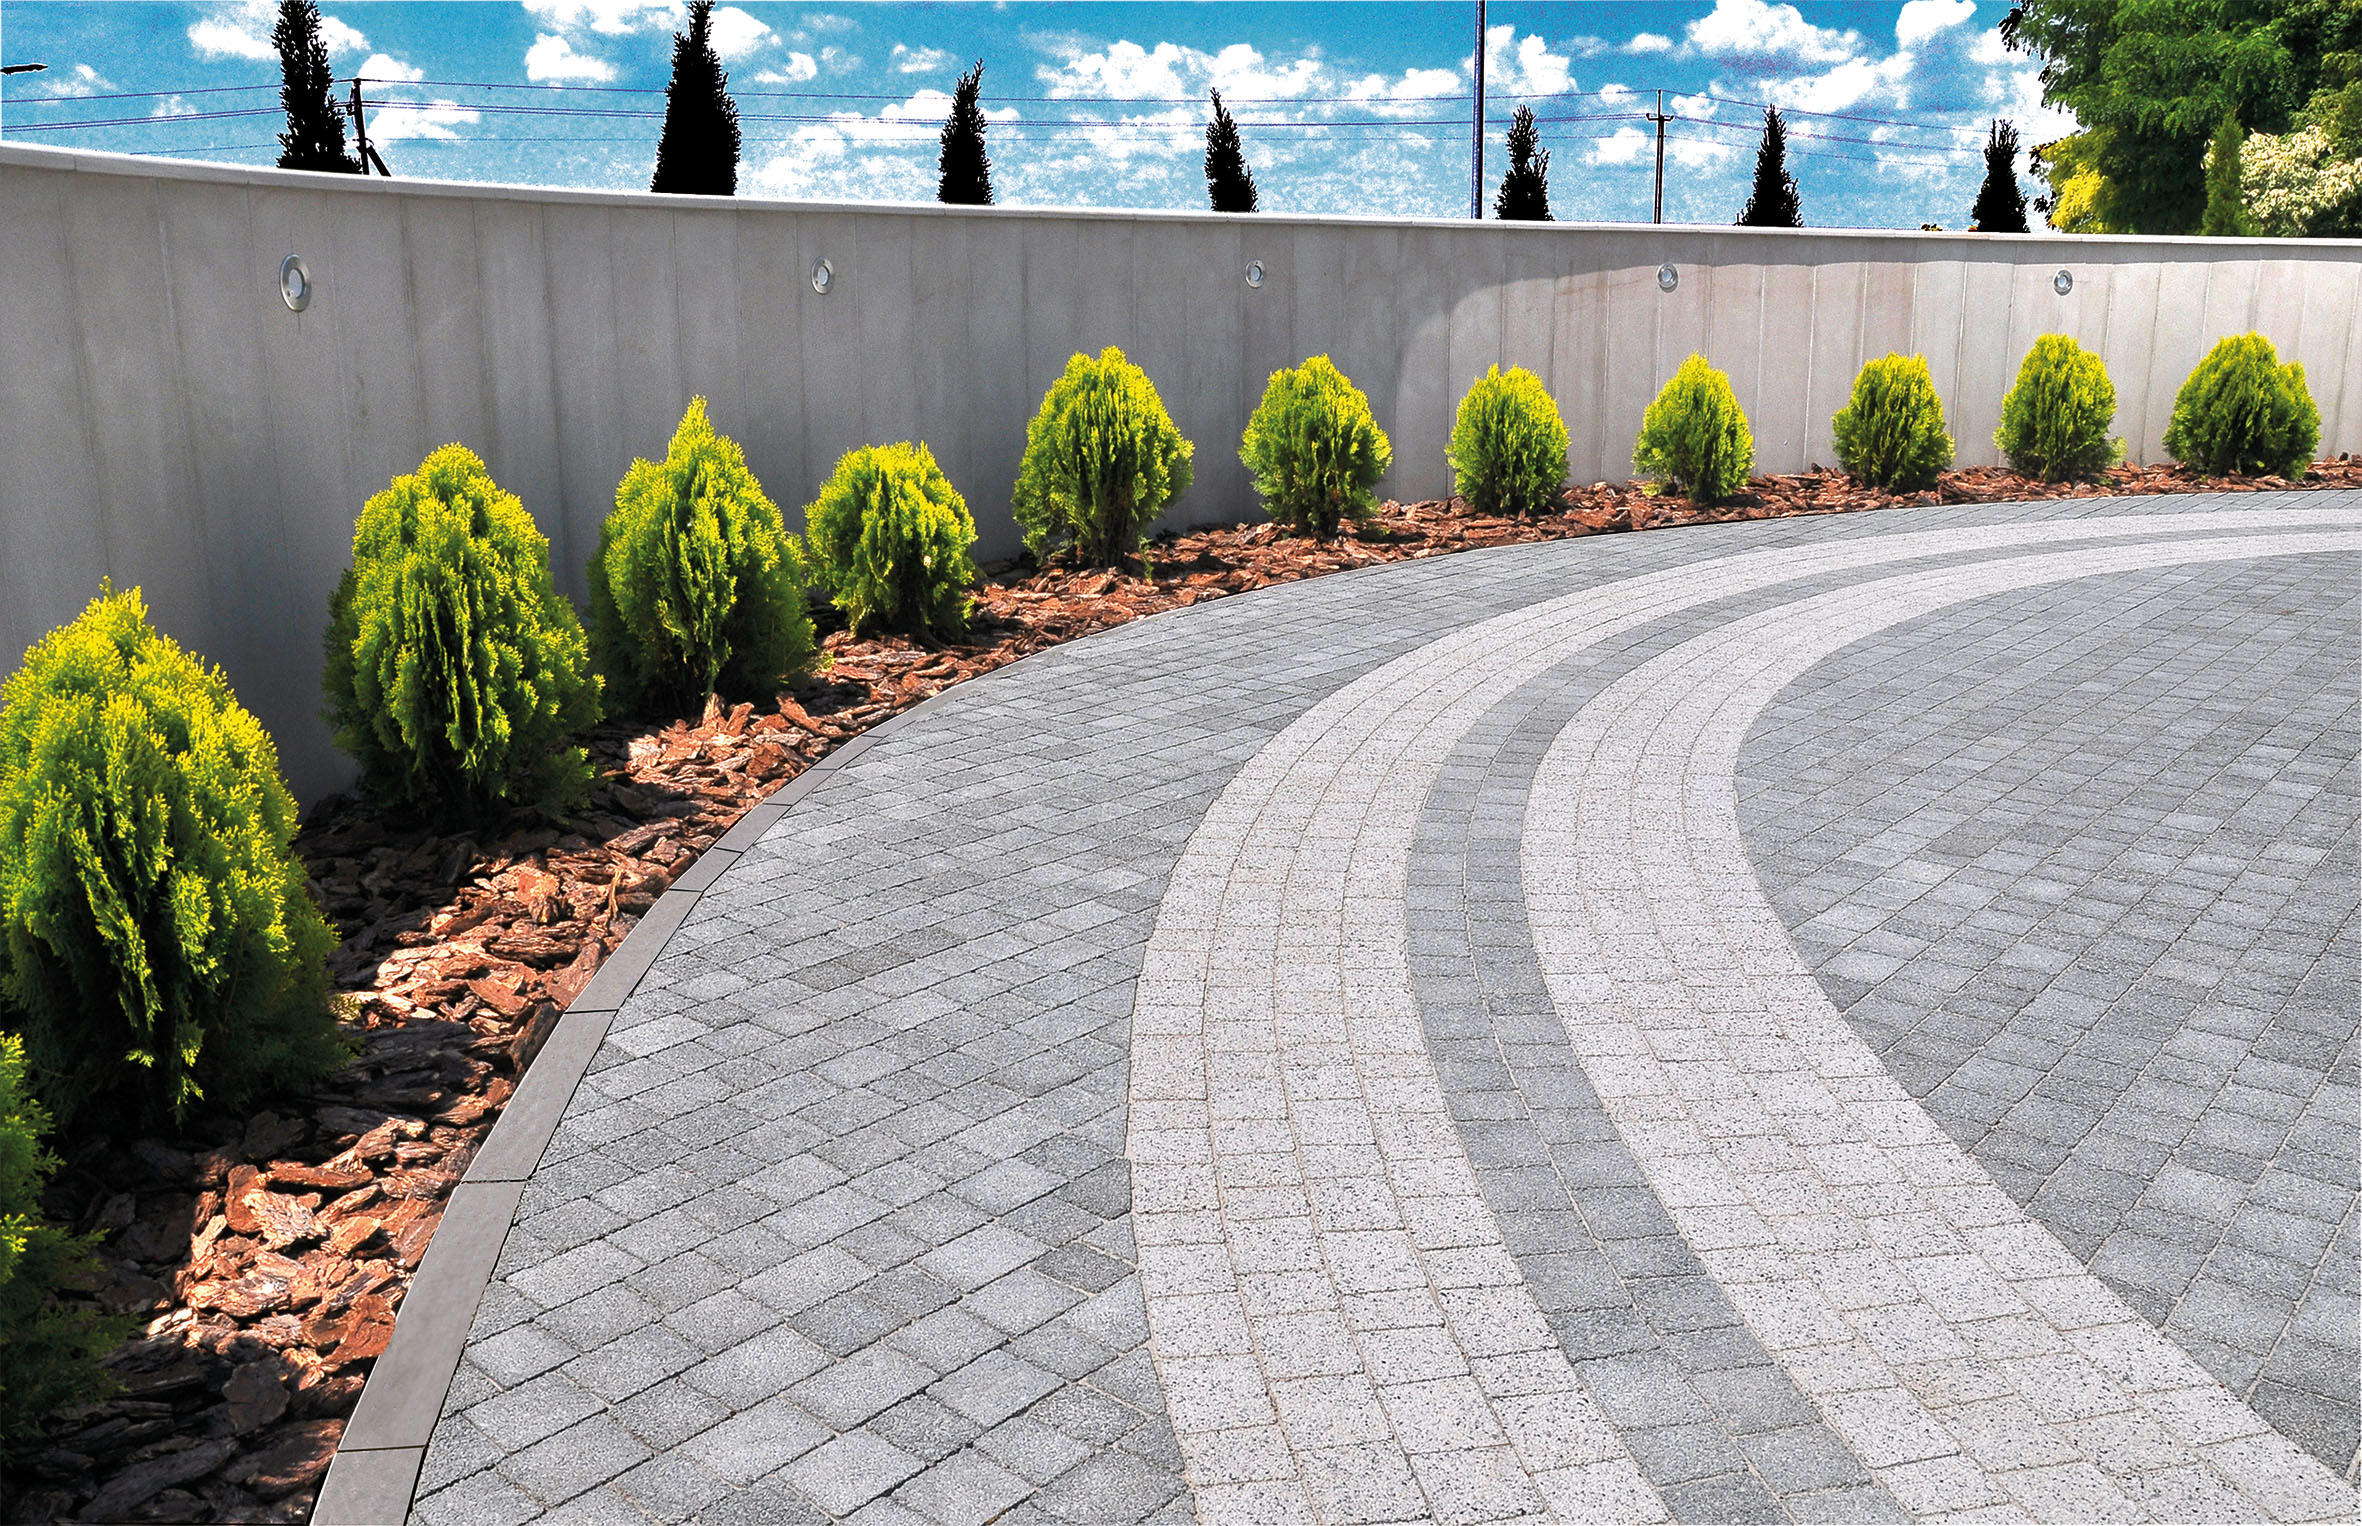
Thanks to its fine grading curve, A-Joint® Polysand Pro is particularly suitable for narrowly laid concrete pavers on private terraces as well as public roads and paths.
The jointing sand remains permanently flexible, making it perfect for unbound construction on both new and renovated surfaces. Thanks to that flexibility, cracks are also prevented after curing.
A-Joint® Polysand Pro is low in dust, leaves no binder film on the stone surface and is therefore also suitable for jointing coated and sensitive surfaces.
Suitable for verry narrow joints:
Suitable for paving with heavy loads:
- Pedestrian and cycle paths
- Driveways
- Terraces
- Walkways
- Paving
Step 1: Preparation:
The joints must be cleaned of weeds, roots and loose parts to a depth of at least 30 mm (2/3 of the stone height for traffic load) without leaving any residue. The surface to be grouted must be freed from all dirt. As moisture activates the binder prematurely, the stone surface must be completely dry before and during application. Residual moisture can be dried e.g. with a gas burner or compressed air. To avoid settling and loose stones, we recommend a permanently water-permeable and load-bearing substrate corresponding to the subsequent load. Pay attention to the current standards and guidelines.
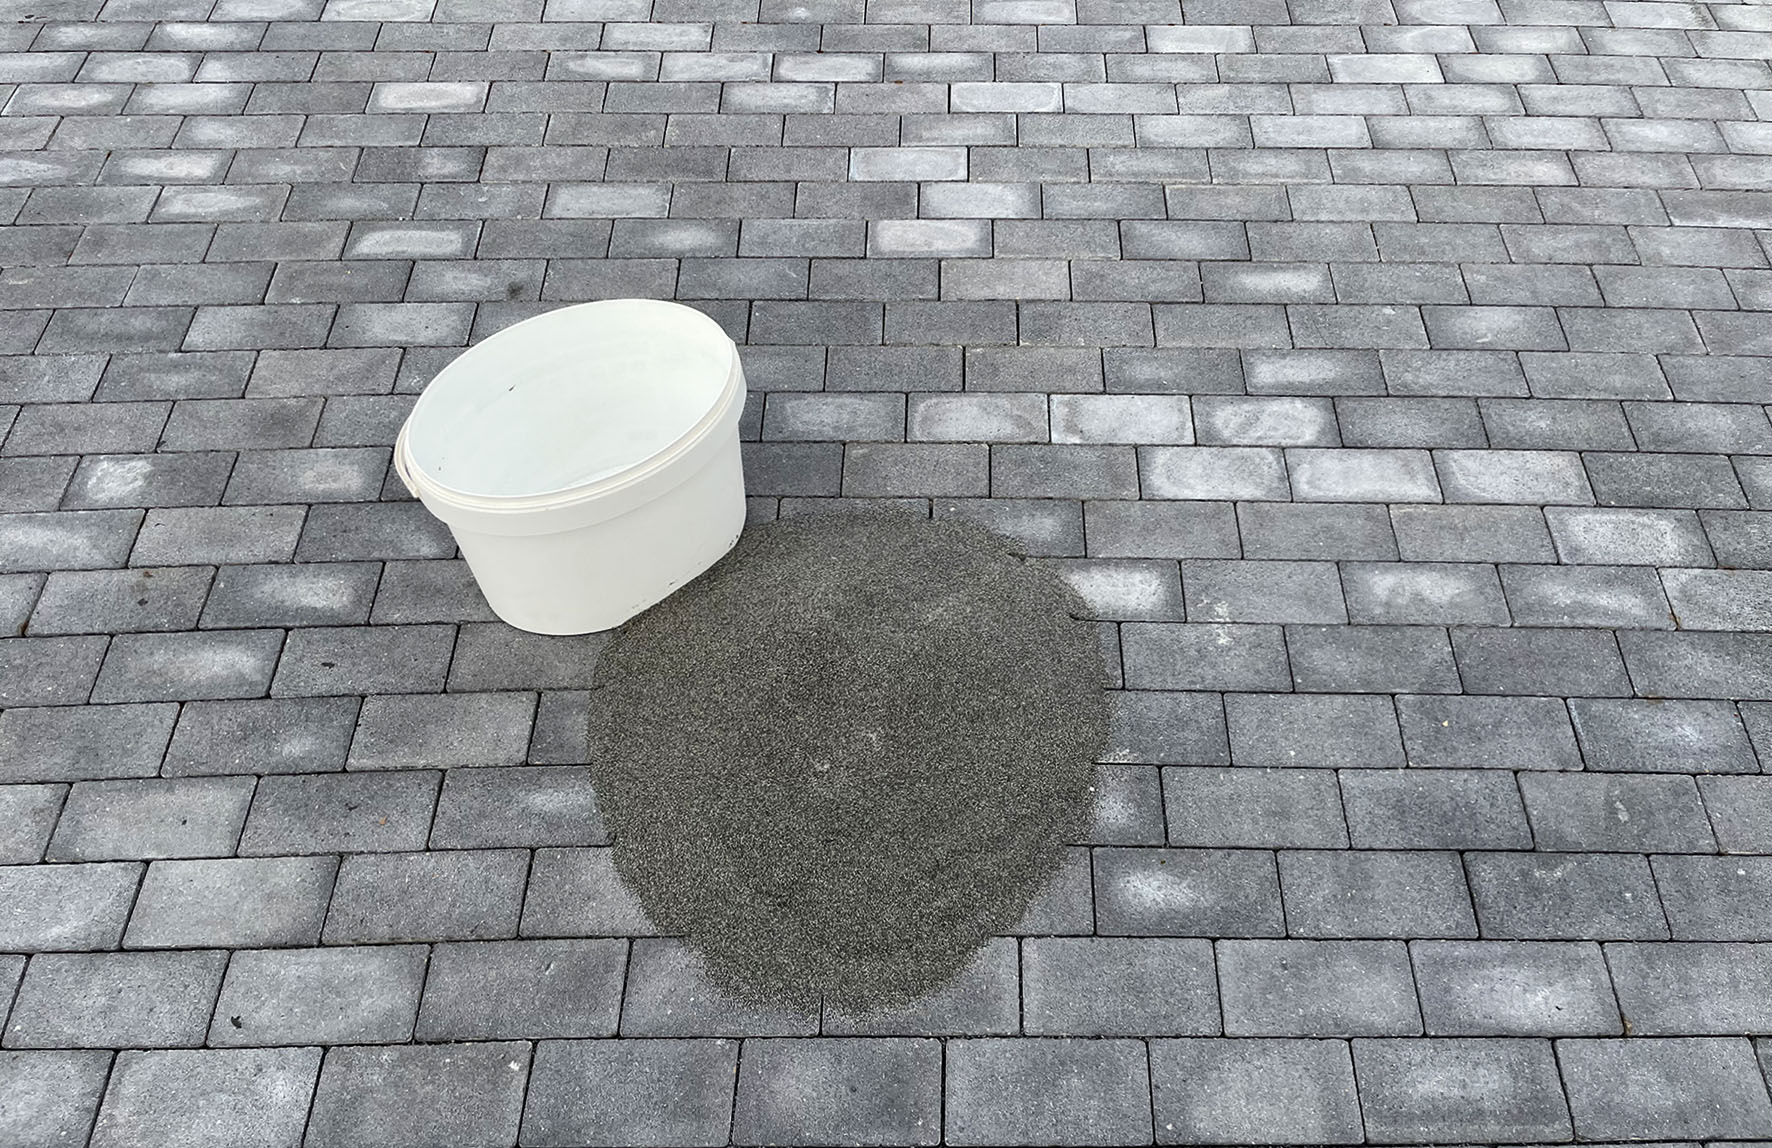
Step 2: Filling the joints
Open the bucket and spread the contents over the dry surface. Now sweep the joint sand carefully and intensively into the joints with a broom. The joints must be completely filled. Clean the stone surface carefully with a fine broom until there is no more residue on the stone surface. Make sure that chamfers (bevelling of the side edges) on slabs and pavers must be exposed.
Tip:
If your paving is suitable for the use of a small vibrating plate (with protective mat if necessary), we recommend additionally vibrating the surface. Then refill the sagged joints again. Repeat the process if necessary.
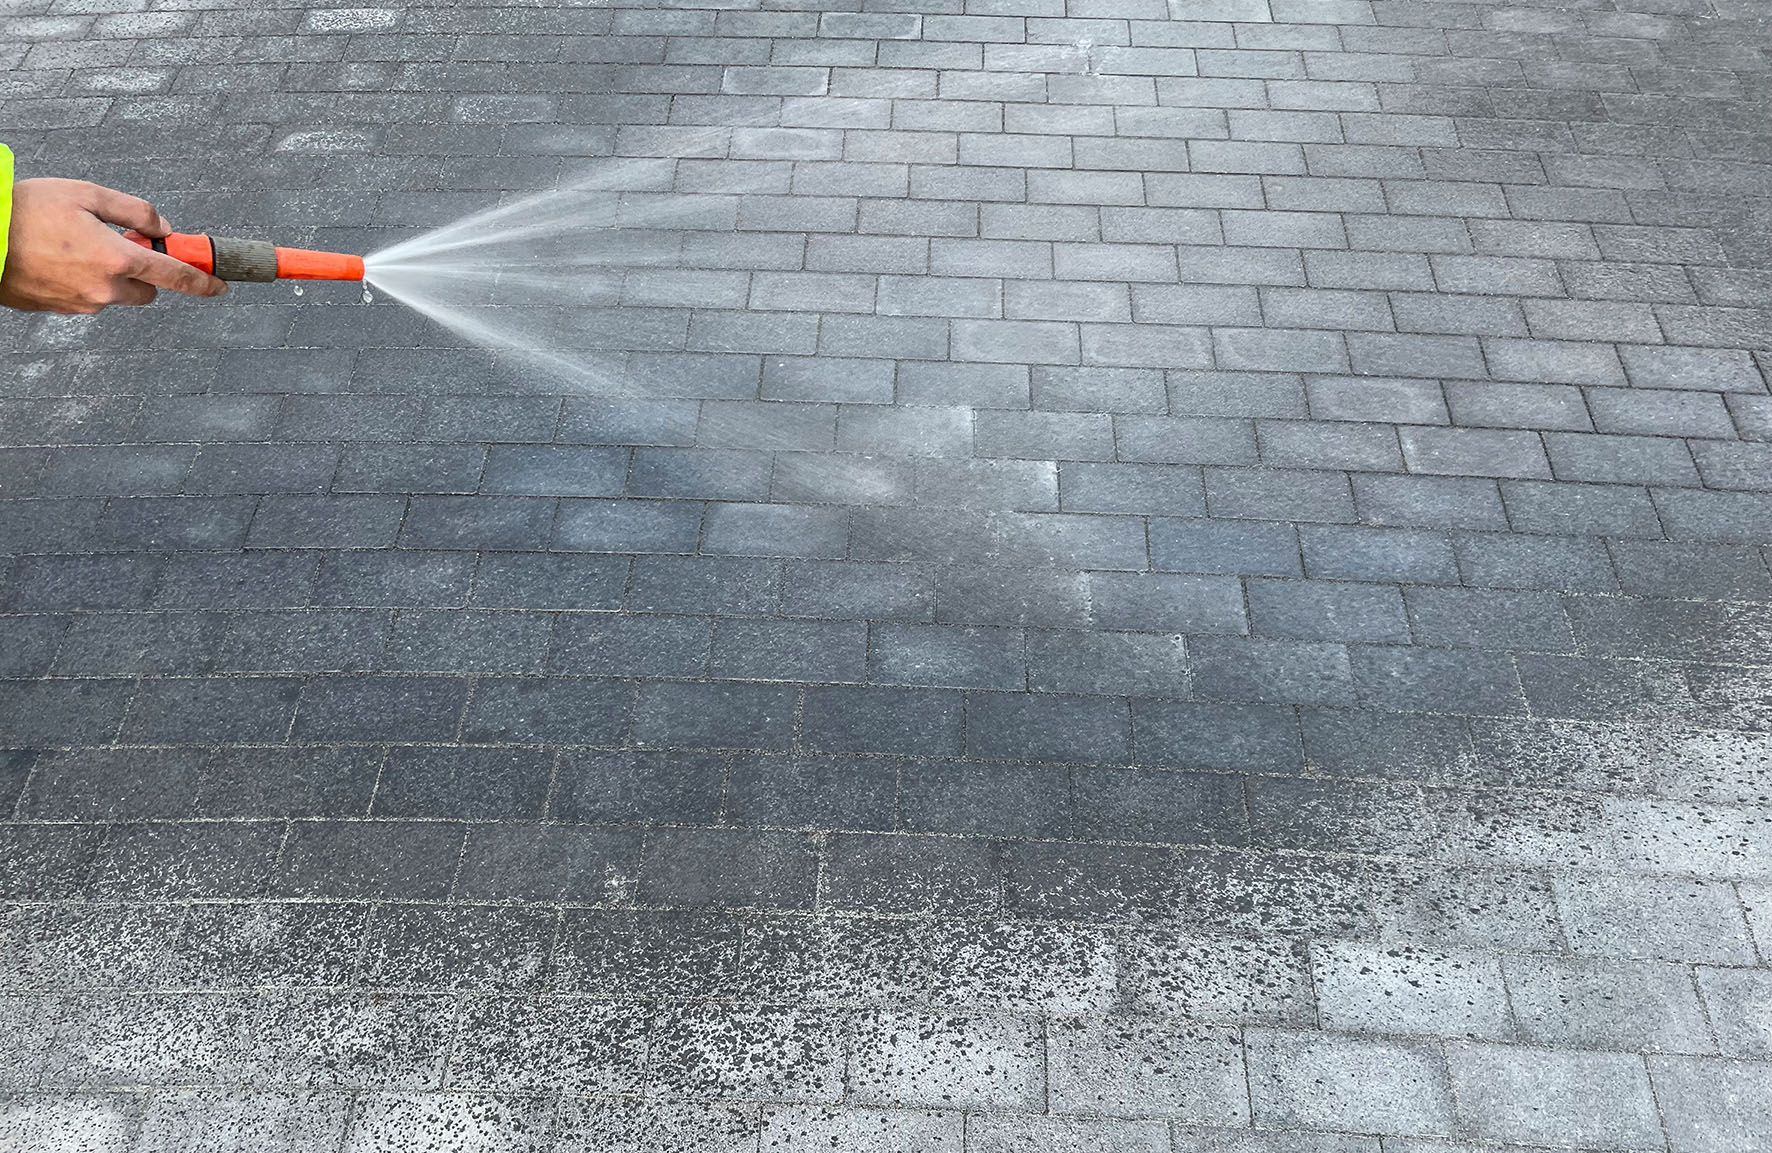
Step 3: Activate binder
Now spray the entire surface with a fine jet of water (adjustable nozzle). Avoid foaming of the binder by applying too much water pressure. Repeat this process several times until the joints are completely saturated and can no longer absorb water. Prevent the joint material from being washed out and puddles and rivulets from forming.
Step 4: Aftercare
At temperatures around 20°C, the surface can be walked on after 3 hours and driven on after 3 days. Complete curing requires complete drying of the joint. Settlement cracks and defects can be repaired without great effort. Cleaning work (high-pressure cleaner max. 80 bar, min. 40 cm distance) is allowed.

