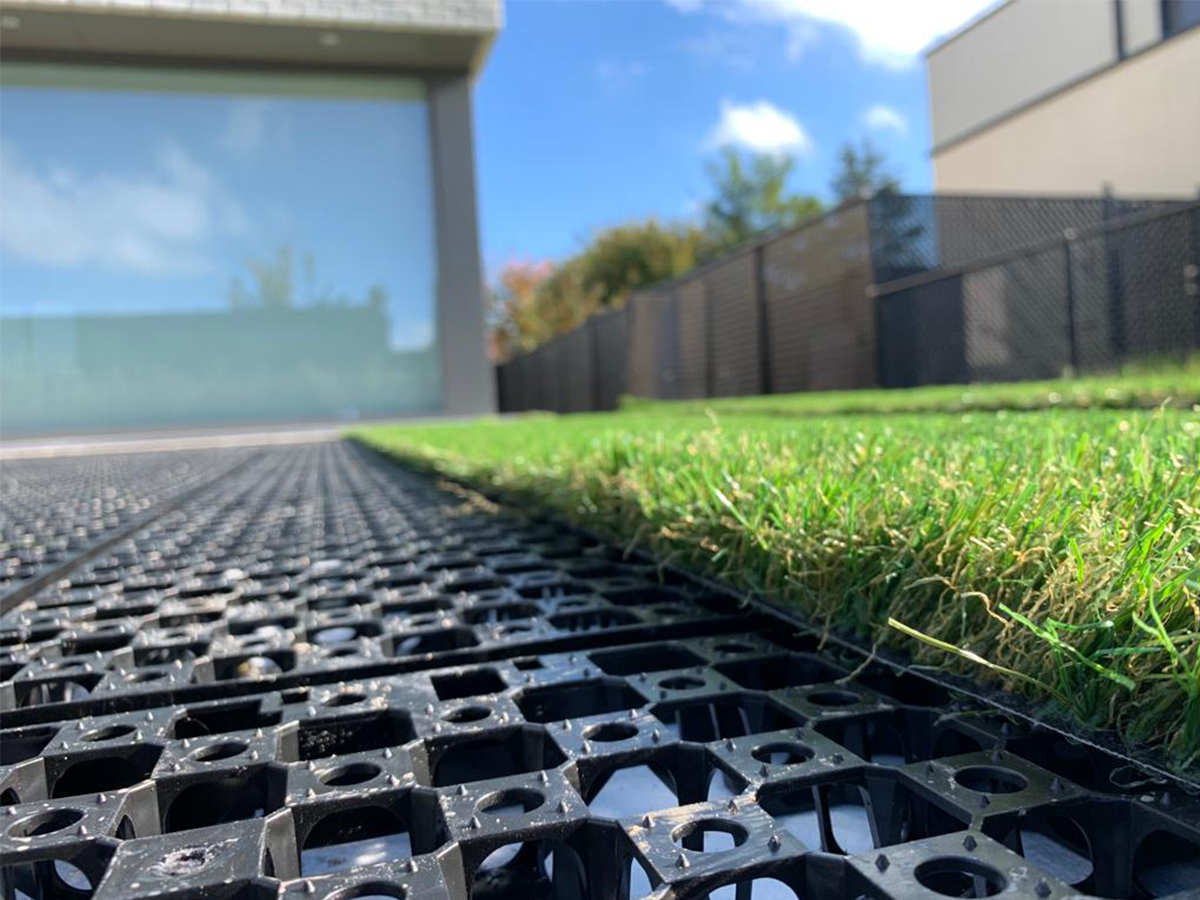
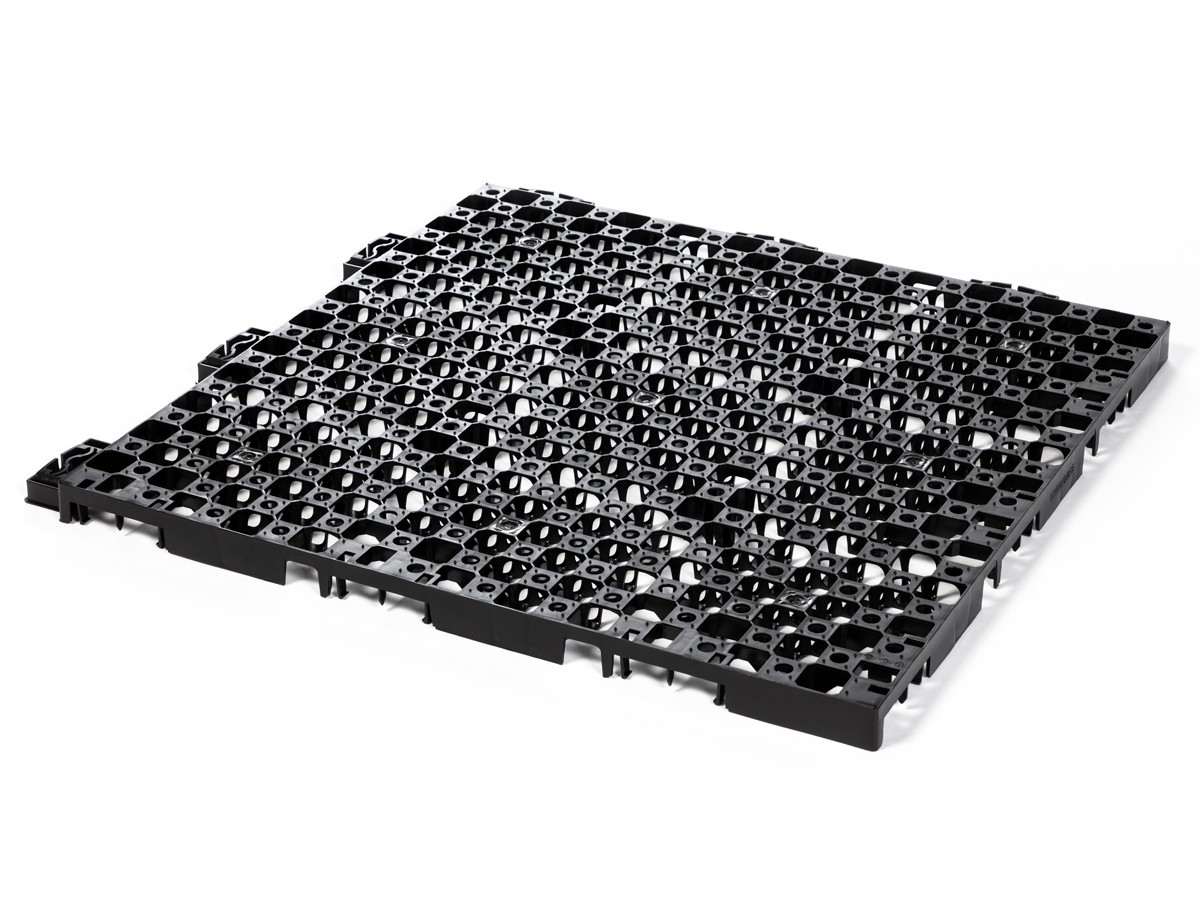
Drainbase is an innovative solution in the field of applications with artificial grass, combining the positive properties of artificial grass with the ability to buffer and infiltrate rainwater.
Made of 100% recycled HDPE, the drainage grids for artificial turf are also 100% recyclable. HDPE offers the ideal combination between a sturdy grid and high elasticity, even at cold temperatures. Drainbase forms a thermal buffer between the substrate and the outside temperature, improving walking comfort in freezing weather.
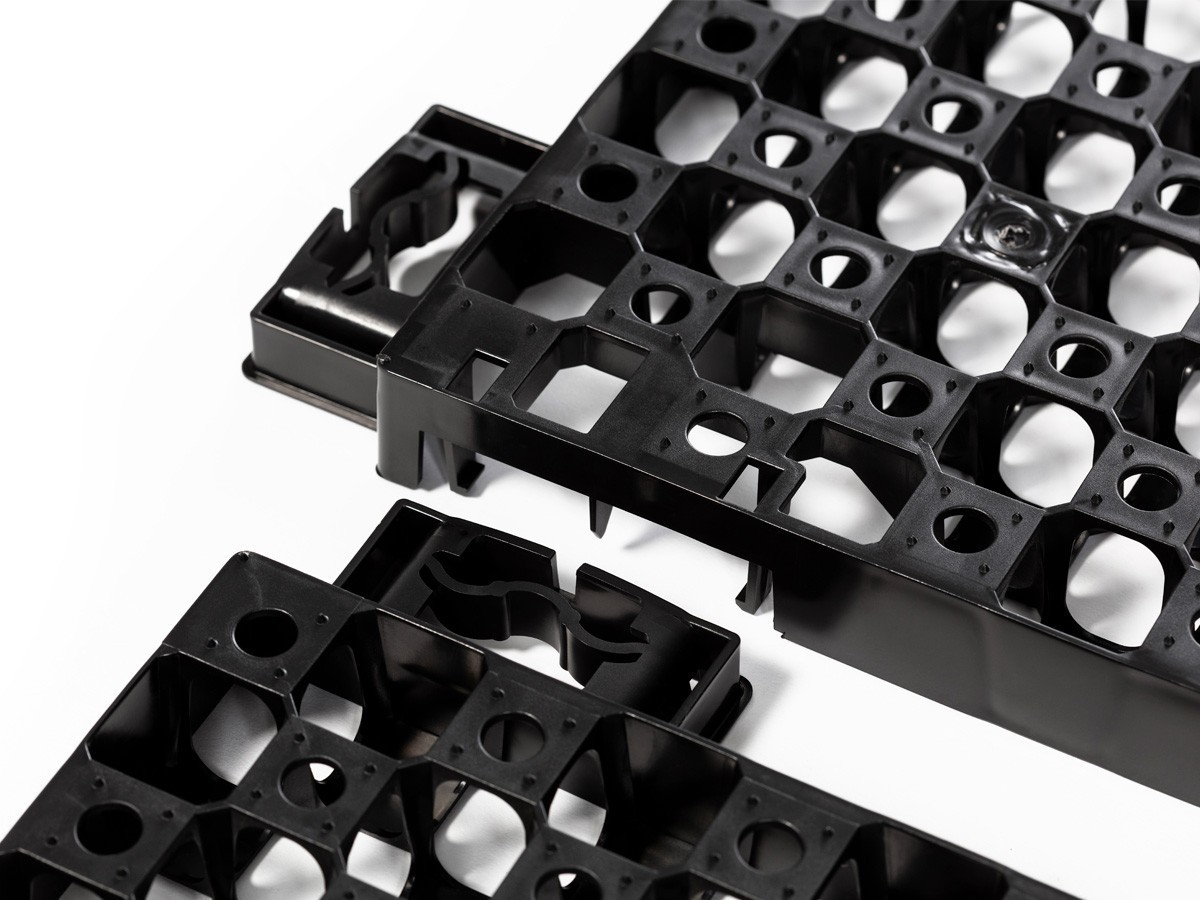
Furthermore, the Drainbase drainage grid consists of an inverted checkerboard pattern that guarantees good load distribution onto the foundation on the one hand and a stable contact surface for the artificial grass on the other.
Drainbase fixing caps
With the provided fixing caps and accompanying screws, the artificial grass can be fixed in any location. Moreover, using the caps, one can easily attach the specially developed Drainbase borders to the artificial grass.
Drainbase L-Stop
The sides of the Drainbase grids can be finished with the optional Drainbase L-Stop. This prevents the sub-base from being washed away and vermin from getting under the tiles.
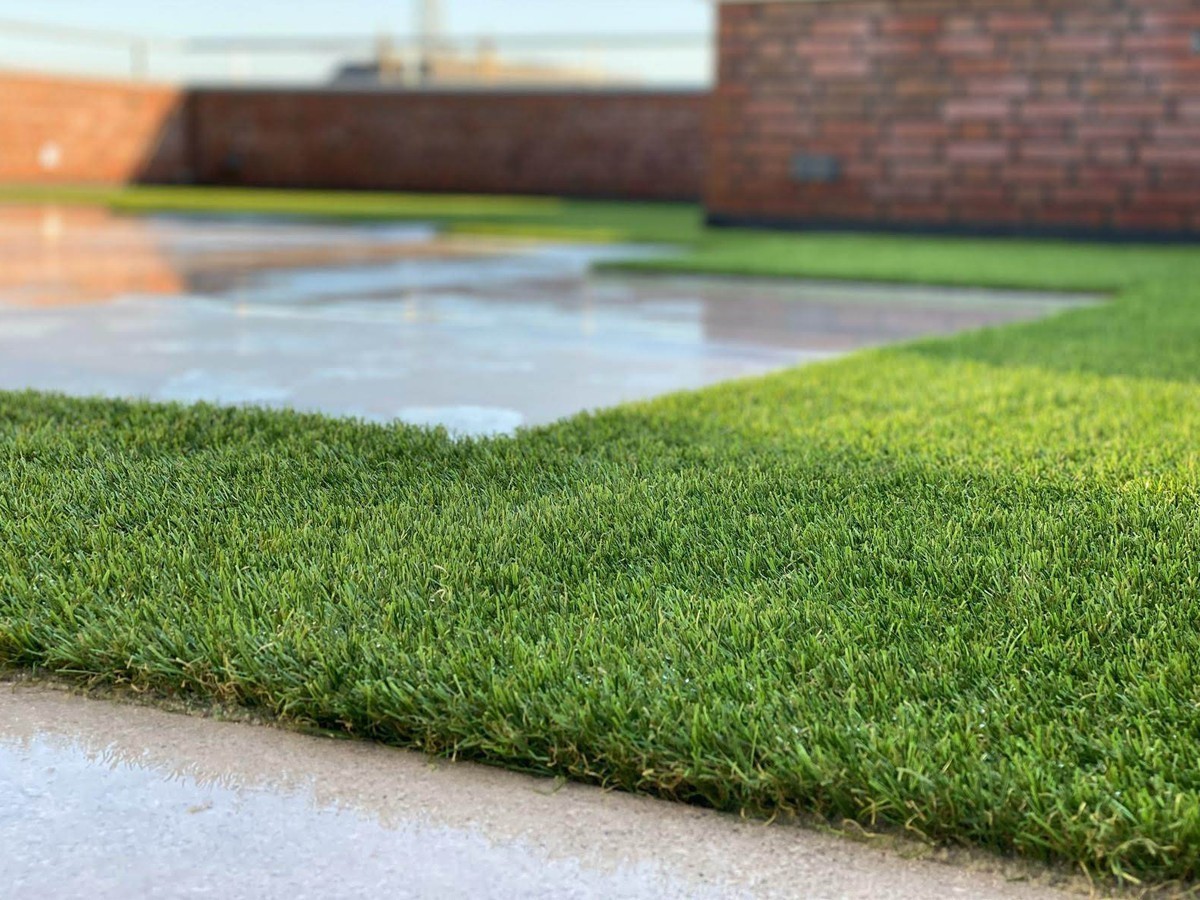
Drainbase Border
Drainbase Borders were specifically designed to provide a neat and tidy finish to your artificial grass project. In addition, this border prevents curling of the grass edges.
Belgian quality
Drainbase tiles for artificial grass are manufactured in Belgium from start to finish. This allows us not only to make quick deliveries, but also to apply stringent quality parameters.
Optimal load distribution
The perfect ratio of contact surfaces at the top and bottom of the grid ensures optimal load distribution onto the sub-base. The perfect guarantee for an even artificial lawn. Avoid expensive and complex levelling works and save time and money.
High water buffering capacity
Drainbase buffers 30 litres of water per m². The solution for perfectly permeable, green and ecologically responsible paving.
Unique connection system
The joints allow the tiles to shrink and expand within their own dimensions, both during installation at cold and hot temperatures.
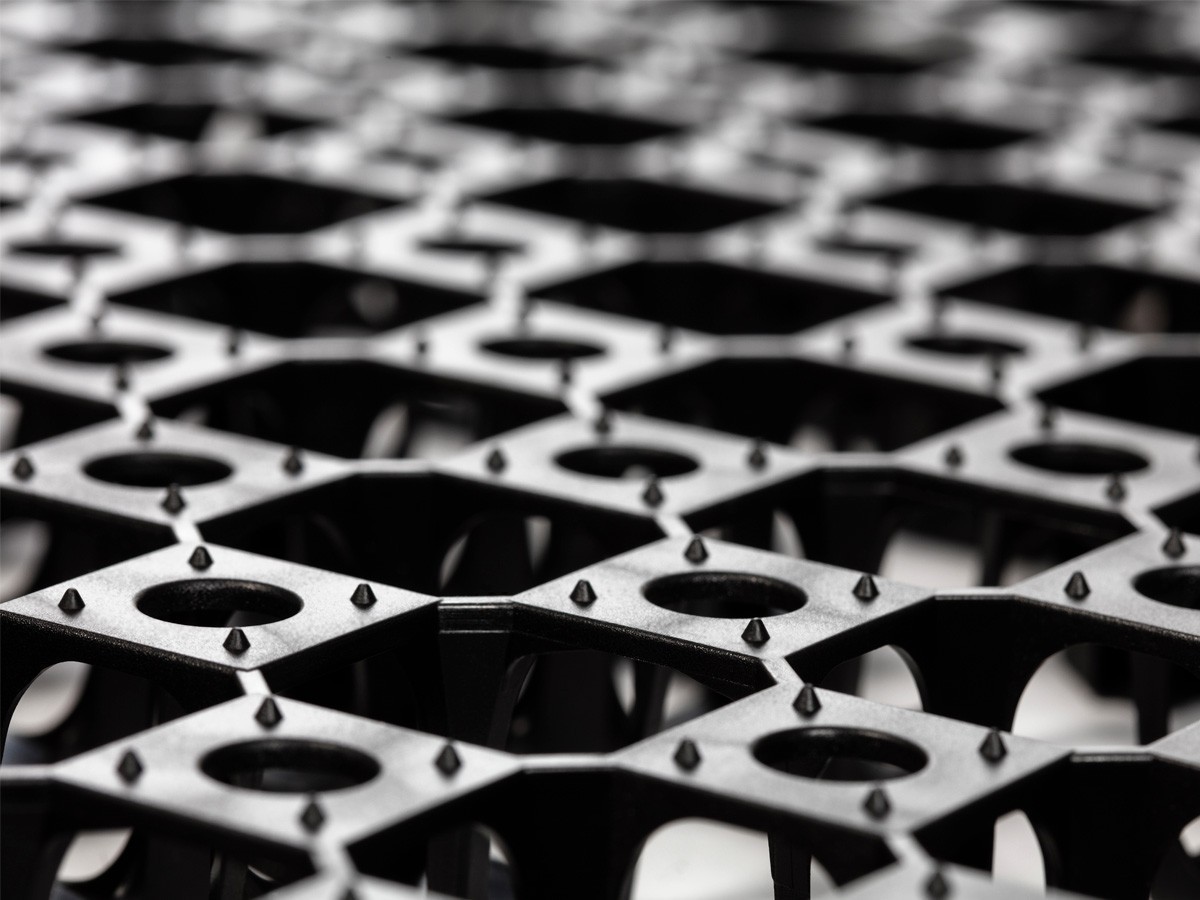
Anti-slip pins
The grid is equipped with 1,010 anti-slip pins, each 2 mm high, on the top side. These ensure that the artificial grass stays neatly in place without causing any damage to the backing.
Flexibility
Thanks to the 9 flexible zones integrated into the Drainbase, the drainage grid can be applied on various subbases while consistently maintaining contact with the ground.
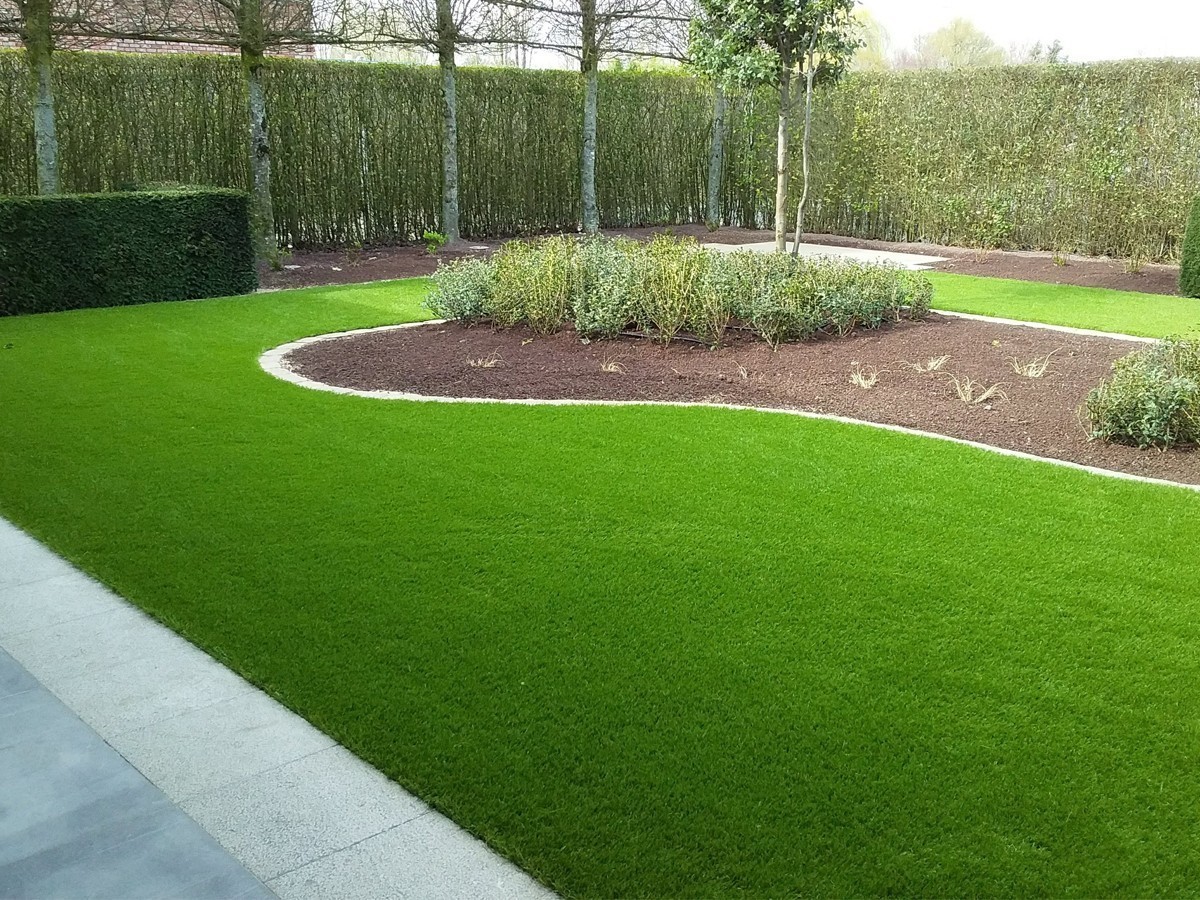
Drainbase is suitable for applications with artificial grass:
- Garden and terrace
- Rooftop terraces
- Playgrounds
- Golf courses
- …
It is possible to place (garden) furniture and plant pots on Drainbase after installation.
Drainbase can be easily installed in gardens as well as on roof terraces. A step-by-step installation guide for the drainage tiles can be found in the text and video below.
STEP 1: Preparation
For regular applications (garden): Place a geotextile onto the sub-base. Provide a leveling layer of min. 5 cm of crushed stone (0-2, 0-4 or 2-4) properly sealed on top.
STEP 2: Installation of the drainage grids
Start at the edge restraint and work row by row. Cut the grids to size with a disk cutter if necessary.
STEP 3: Connecting system
The unique connection system allows the grids to shrink and expand within their own dimensions. It is important that the grids are connected correctly; this means halfway through the connection system. Clicking should be smooth by applying light pressure.
STEP 4: Level foundation
To have an aesthetically pleasing result, it is important to have an even foundation.
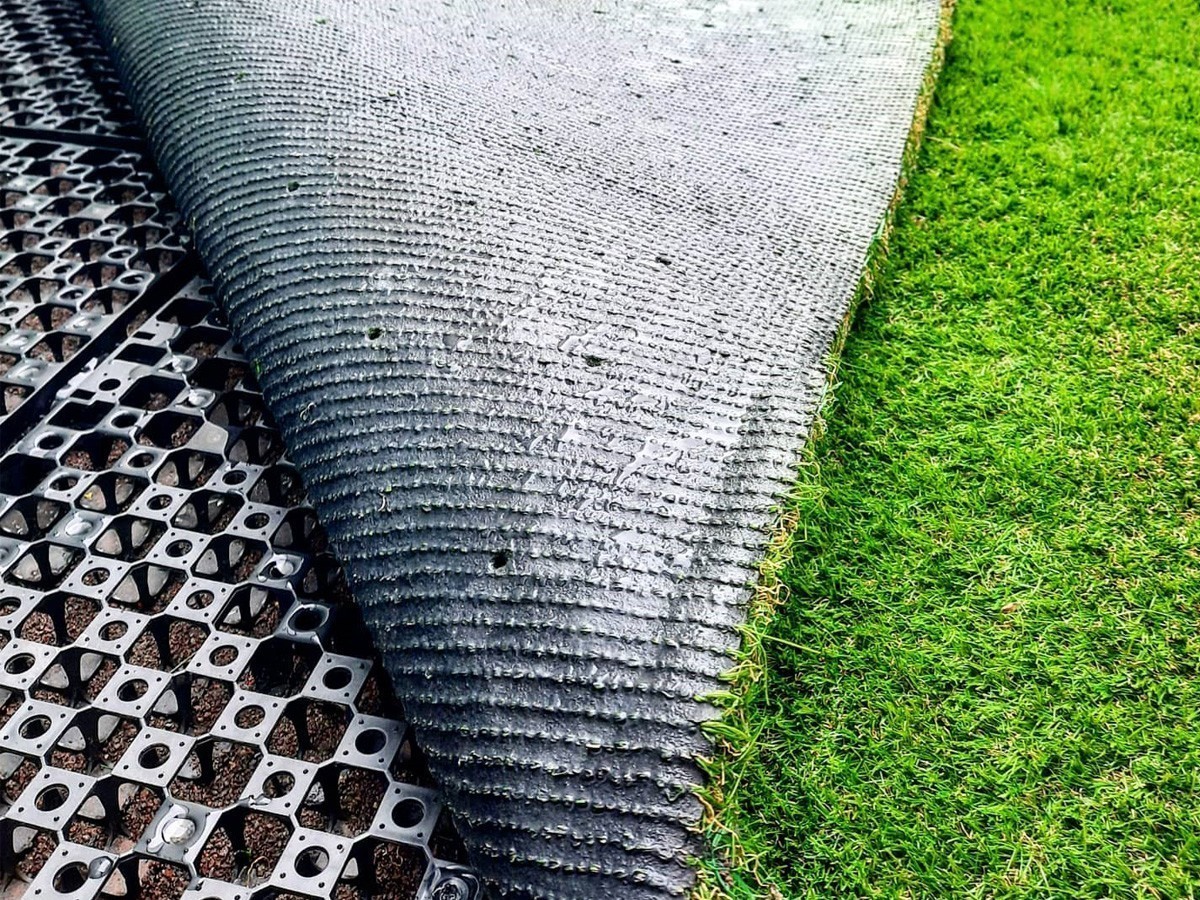
STEP 5: Artificial grass
Roll out the artificial grass, keeping in mind the “viewing direction” when placing it and adjust the position of the fibers accordingly. Cut to size where necessary.
STEP 6: Fixing caps
Place fixing caps every 80 to 100 cm or in places where you wish to secure the artificial grass additionally. When doing so, avoid the outermost row.
STEP 7: Fixing the artificial grass
Screw the artificial grass in place using the bit and screws provided.
STEP 8: Final result
Brush the artificial grass and enjoy the end result.

